Fix Virgin Media WiFi: Dropouts & Slow Speeds
Fix Virgin Media WiFi connection issues, slow speeds, and dropping connections. Learn about 2.4GHz vs 5GHz, signal boosting, and WiFi Pods.
Disclaimer: This is an independent help resource and is not affiliated with Virgin Media. For official support, visit virginmedia.com or call 0345 454 1111.
We've helped thousands of readers fix Virgin Media WiFi problems - here's what actually works based on our extensive testing.
Common Virgin WiFi Problems
WiFi Keeps Dropping
Your WiFi connection drops randomly, requiring you to reconnect or restart the Hub.
Quick Fix: Restart your Hub, check for overheating, and move it to a better location away from interference sources.
Slow WiFi Speeds
WiFi is much slower than your expected broadband speed.
Quick Fix: Connect to 5GHz instead of 2.4GHz, move closer to Hub, or use ethernet for a speed test to compare.
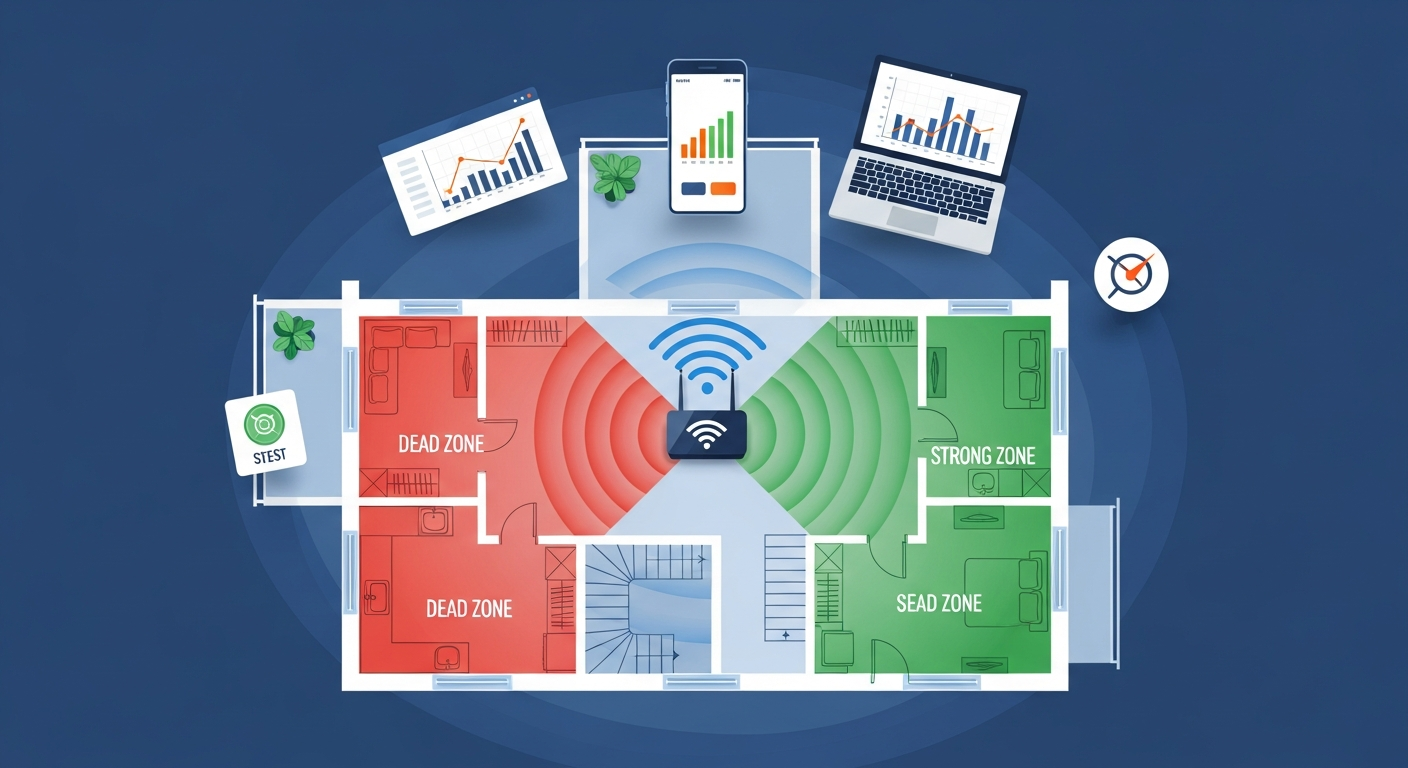
Poor Signal Upstairs
WiFi works downstairs but is weak or non-existent upstairs.
Quick Fix: Relocate Hub to a more central location, use WiFi Pods/extenders, or connect to 2.4GHz for better range.
Some Devices Won't Connect
Certain devices can't connect while others work fine.
Quick Fix: Forget the network on the device and reconnect, check if it's connecting to the right band (2.4GHz for older devices).
2.4GHz vs 5GHz: Which Should You Use?
2.4GHz Band
Pros
- Better range - reaches further from Hub
- Better at penetrating walls and floors
- Works with all WiFi devices, including older ones
- Good for IoT devices (smart home, etc.)
Cons
- Slower speeds (max ~150Mbps typical)
- More congested - many devices use 2.4GHz
- Prone to interference from microwaves, baby monitors
- Only 3 non-overlapping channels
Best for: Smart home devices, devices far from Hub, older devices that don't support 5GHz
5GHz Band
Pros
- Much faster speeds (up to 1Gbps+ on WiFi 6)
- Less congested - fewer interfering devices
- More available channels
- Better for streaming and gaming
Cons
- Shorter range
- Doesn't penetrate walls as well
- Not supported by all devices
- Signal drops off faster with distance
Best for: Streaming, gaming, laptops and phones near the Hub, any device that needs fast speeds
How to Split Your WiFi Bands
By default, Virgin Media Hubs use "Smart WiFi" which combines both bands under one network name. To separate them:
- Log into your Hub at 192.168.0.1
- Enter your Hub admin password
- Go to Advanced Settings > Wireless
- Disable "Smart WiFi" or "Band Steering"
- Give each band a different name (e.g., "MyWiFi-2.4G" and "MyWiFi-5G")
- Save and wait for the Hub to apply settings
How to Boost Virgin WiFi Signal
Optimal Hub Placement
Where you put your Hub makes a huge difference to WiFi coverage:
- Central location: Place the Hub in the middle of your home, not in a corner
- Elevated position: Put it on a shelf or table, not on the floor
- Open space: Don't hide it in a cupboard or behind furniture
- Away from interference: Keep it away from microwaves, baby monitors, cordless phones
- Away from metal: Avoid placing near large metal objects, mirrors, or fish tanks
- Upright position: Keep the Hub standing upright, not on its side
Reduce Interference
Common sources of WiFi interference and how to avoid them:
- Microwaves: Move the Hub at least 3 metres away
- Baby monitors: Use a different channel or frequency
- Cordless phones: Older DECT phones can interfere with 2.4GHz
- Bluetooth devices: Can cause minor interference on 2.4GHz
- Neighbours' WiFi: Change your WiFi channel to a less congested one
- USB 3.0 devices: Can emit interference - keep cables away from Hub
Change Your WiFi Channel
If neighbours' WiFi is interfering, changing your channel can help:
- Download a WiFi analyzer app on your phone (many free options available)
- Scan to see which channels are congested in your area
- Log into your Hub at 192.168.0.1
- Go to Wireless > Advanced Settings
- Change the channel to a less congested one (for 2.4GHz, try channels 1, 6, or 11)
- Save and test your connection
Virgin WiFi Pods: Extend Your Coverage
What Are WiFi Pods?
Virgin Media WiFi Pods (also called Intelligent WiFi Pods or WiFi Boosters) are small devices that plug into your wall sockets and extend your WiFi coverage. They create a mesh network with your Hub, so you can move around your home and stay connected without manually switching networks.
Key Features:
- Seamless roaming - your devices automatically connect to the strongest signal
- Extends coverage to hard-to-reach areas
- Uses your home's electrical wiring (Powerline technology)
- Managed through the Virgin Media Connect app
- Works with Hub 4 and Hub 5
Setting Up WiFi Pods
- Download the Virgin Media Connect app on your phone
- Sign in with your Virgin Media account
- Plug your Pod into a wall socket in the area with weak signal
- Wait for the Pod's light to turn solid
- In the app, go to WiFi > Add Pod
- Follow the on-screen instructions to pair the Pod
- Test your connection in the previously weak area
Pod Placement Tips
- Place Pods halfway between your Hub and the area with weak signal
- Don't plug into extension leads - use wall sockets directly
- Keep Pods away from large metal objects
- Pods work best on the same electrical circuit as your Hub
- Allow 2-3 minutes for Pods to fully connect after plugging in
WiFi FAQs
Why does my Virgin Media WiFi keep dropping?
Why is 2.4GHz not working on my Hub 5?
How do I know if my Hub is overheating?
Should I separate 2.4GHz and 5GHz networks?
Are WiFi Pods worth it?
Still Having WiFi Problems?
Contact Virgin Media for further assistance
Phone Support
0345 454 1111
Technical support 24/7
Live Chat
Chat Online
Available 24/7 via virginmedia.com
Connect App
Download Free
Manage WiFi and troubleshoot issues
Sources & References
Written by James Thompson
Broadband & Home Technology Expert
James is a former broadband engineer with 10 years of experience installing and troubleshooting home internet and TV systems across the UK. He specialises in helping customers get the most from their Virgin Media services.
Last reviewed: January 2026